Nothing could be easier, follow this LINK and fill out the form or send an email to fibre@amuri.net
There can be several things that affect the time to get you connected to fibre. Most often it is to do with getting consent agreement from other parties. Occasionally demand outstrips supply and it takes us a bit longer to have a technician available to connect you.
You’ve seen the Connectrix crew working hard laying fibre in your street. They’ve now finished work and moved on, but fibre’s still not available to order at your place yet. So, why not?
Fibre is rolled out by cabinet area – made up of a number of premises - rather than street by street.
It can take a number of weeks to build our fibre network in a cabinet area, and once that’s done there’s still some further administration and testing work we need to do before you can place an order with Amuri.Net.
This administration and testing work takes around six weeks after build completion.
All of this work needs to be completed before anyone in the cabinet area can place a fibre order so if yours was one of the first premises we were working outside of, it may seem like you’ve had to wait a little longer.
When testing is complete in your area, we’ll let you know that fibre’s available and ready to order.
Have a look at our Broadband Map if you want more information about the build roll-out past your place. If you’d like more information on how we bring our fibre network from the street to your house once you have ordered, check out some of the other articles in our Fibre installation methods section.
Please contact Amuri.Net and we will be able to confirm when your appointment is, or alter the date and time.
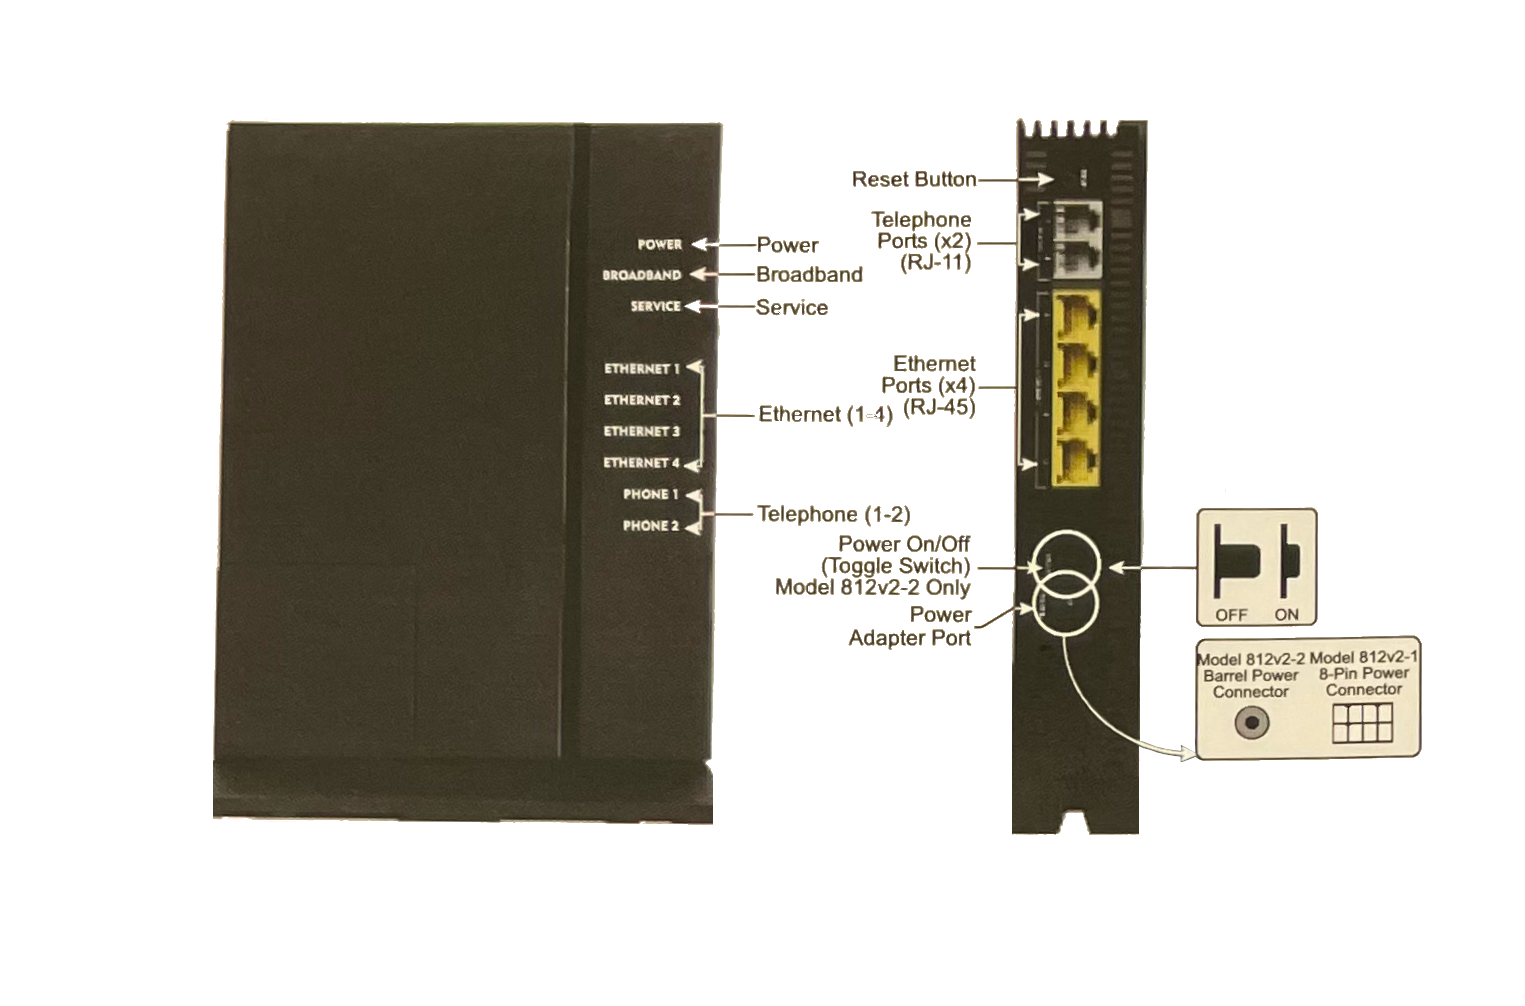
An ONT is an Optical Network Terminal. This device connects the fibre that has been wired to the outside of your house, to your modem.
The ONT is a small black plastic box (144mm x220mm x35mm) that will be placed on your internal wall.
It’s important that you think about where the ONT is placed before our technician arrives for your 'Agree' appointment as this can affect your broadband experience. Your modem will plug into your ONT so it should ideally be:
* close to a power socket (the ONT is powered by a 12v adapter)
* where you’re using the internet the most.
* centrally located in your home if possible as that’s how your wifi works best
* close to data-hungry devices like televisions, stereos and home servers.
At the moment, we are offering standard residential fibre installations for FREE for the first 200 meters from the street. Standard residential fibre installation.
Our standard installation service includes:
* Connecting your property to the fibre network in your street via existing infrastructure using one of these options
* Buried cable by way of existing conduit, soft trenching, slot trenching or hard trenching
* Reinstating any surfaces that have been disturbed during the installation
* Installing the external termination point (ETP) on the exterior of the property
* Installing the optical network terminal (ONT) inside the property
* Connecting our Amuri.Net modem (if applicable)
* Testing to make sure everything is working
We consider a standard installation to be a maximum of 200 metres between your boundary and our ETP on your property. If the distance from your boundary to our ETP is more than 200 metres you may need to contribute to the cost of installation. We’ll propose this contribution with you before we begin any work at your place.
Please note Amuri.Net does not cover these costs:
Any alternative installation from the road to the property that is not listed in the bullet points above
Electrical work to add additional power plugs
Moving the ETP or ONT after it has been installed
So fibre is now in your street and your order’s in. Nice work! Once you’ve placed your fibre order we get to work connecting the fibre from our network to your place. To get you hooked up, an Amuri.Net technician will visit your house first, then Connectrix two times. The first visit (called a scoping visit) is to discuss and agree how the install will happen, and the second is to undertake the external work connecting from our network at your boundary to the outside of your house. And the third visit we install fibre into your home. It’s important you’re home for the first and third visits and are available by phone for the second to ensure your install happens exactly as agreed.
Here’s three things to make sure you’ve thought about and discussed with your technician when they come around for the scoping visit.
The install method
There are seven methods we use to bring fibre from the road to your house. Your technician will recommend the best option which depends on existing infrastructure on your street and access to your property. Make sure you understand fully what they will be doing and how they will be doing it. The technician will reinstate any surfaces disturbed during the installation, but do bear in mind new concrete or tiles may differ slightly in appearance to older ones so do talk with your technician about the least disruptive option for your place.
Placement of our equipment at your place
The ETP, or external termination point, is a small box we attach to the outside of your house and is where our network meets your home. The fibre is then run through your wall similar to electric cabling to an ONT, or optical network terminal, inside your house. The ONT is a small white plastic box (180mm x50mm x 120mm) that will be placed on your wall. It’s your responsibility to tell the technician where to put the ONT in your home and they will install it as per your request.
It’s important that you think about where the ONT is placed before the technician arrives as this can impact your broadband experience. Your modem will plug into your ONT so it should ideally be:
* where you’re using the internet the most.
* centrally located in your home if possible as that’s how your WiFi works best
* accessible to Internet heavy-devices such as televisions.
* Think about what you’ll be using your broadband connection for in the future too. For example if you’re considering setting up a home office make sure you’ll get good coverage there as well.
The plan for install day
A responsible adult will need to be home for install day so our technicians can get into your home. If that isn’t the person who met with the technician in the first meeting, make sure you’ve shared the plan with them so they know and understand what has been agreed. And have someone you trust to make any decisions just in case anything changes.
Once you’ve agreed to the install plan with your technician you will sign an agreement. Be sure you keep a copy to refer to later if you need to.
Take a look here to see what is involved in getting fibre to your place. We currently offer standard residential fibre installations (that’s a maximum of 200 metres between your boundary and our ETP on your property) for free in areas that have fibre in the street. Once your install is complete you can start TV streaming, video calling and web surfing using some of the best broadband in the world right away..
Amuri.Net is rolling out our first fibre broadband network build. The size of the job means the rollout across the Ohoka/Mandeville is staggered, and we’re working street by street, to deliver better broadband to Ohoka/Mandeville.
Laying fibre in your street
When it’s your street’s turn, we'll let you know when we are coming, when you can connect and how to get connected.
A few weeks before we begin work, you will receive a mailer from us letting you know more about the work we'll be doing and what to expect while we are working in your street. A second letter will be sent letting you know when work will begins, closer to the start date. You will also notice street signs communicating start and target completion dates. After we’ve finished building the network in your street, we'll let you know when it’s time to contact us and switch to fibre.
The process starts by getting the fibre from our cabinets to your street. We may need to dig or drill along your street to install smaller microducts, which we use to blow the fibre through to connect your property.
Yes. As every property is unique, we need to approach installation in a variety of ways. Also, the installation process we follow depends on the type of property you live in.
If your home is on its own section and you don’t share a driveway (we call this a single-dwelling unit or SDU), the installation should be relatively straightforward.
If your property is an apartment, retirement home, office block or multi-use block, it is most likely a multi-dwelling unit or MDU. If you share a driveway or live in an apartment or in a gated community you could be classified as a right-of-way, or ROW. In these cases, there's a few extra steps involved.
Fibre installation process for SDU
If your home is classified as a SDU (single-dwelling unit) the installation should be relatively straightforward.
Fibre installation process for MDU
If you live, or work, in a multi-dwelling unit, in some instances we’ll need consent from neighbours or other parties before we can begin to install.
Fibre installation process for ROW
If you are living in a property with a shared driveway, you may need to get consent from your neighbours in the driveway before we can start work.
The installation process starts when you place an order for fibre with Amuri.Net. Every property is unique, so there may be a few extra steps involved in getting fibre to your place. But no matter where you live, we need to complete the following steps to get you connected. Once we have your order, we can discuss the installation process specific to your place in more detail.
Agree (Scope your property)
When we receive your order, we’ll get in touch to arrange for an Amuri.Net technician to meet with you at your house to talk you through the work required and agree on your installation plan.
The initial meeting with an Amuri.Net technician takes approximately an hour. Any work that needs to be completed both inside and out on your property will be noted on an agreement form completed by your Amuri.Net technician which you’ll be asked to sign.
This agreement covers what we need to do to get the fibre from the road to the outside of the house and where we will install your fibre equipment inside the property. Our technician will also discuss the build and connect components of the install with you.
Build (Runing the duct on your property)
Next we build fibre from the road to your house. You don’t need to be at home for this but it helps if you are contactable by phone, just in case we do need to make any changes to what was agreed. We build the fibre from the street to your property and connect it to a small box installed on the outside of your house called an external termination point (ETP).
Connect (Blow the fibre in to your property)
Once we’ve built the fibre to the outside of your house, it’s on to getting you connected. You will need to be home for up to four hours for this visit as we bring the fibre from the outside of the house, inside.
Our technician will take the fibre from the ETP that we installed outside your house earlier, and connect it to another small box called an optical network terminal (ONT) inside your house. This is what your modem connects to.
The technician will complete the internal wiring and installation of the new fibre equipment in the agreed position as well as testing it before leaving.
At Amuri.Net, our main method of getting Fibre from the road to your house will be using an underground method. This may not be possible at all properties (other options are available). Our goal is to install a fibre service lead from the boundary to your premises with as little impact on the property as possible. The small duct is approximately 10mm in diameter made of multi-layer high density poly ethylene, with the outer being quite rigid. It has a small wire to enable us to locate it in the ground. The actual fibre is blown through the duct with specialist equipment.
Our sub-contractor, Connectrix, will communicate with you on the best method to install the fibre duct. The main method of installing the fibre duct is to use the mole plough. This is a small machine that places the duct at approximately 350mm to 400mm below the surface by cutting into the ground with a blade and laying the fibre in the ground.
There are other methods such as open trenching, using a directional drill or thrusting. As the premise owner we are also giving you the option of paying for a premium install where the use of the directional drill or other methods could be used. This is not covered in the standard install. The technician will advise of the cost involved. This allows the duct to be installed with virtually no visible evidence.
You may want to supply your own trench or installation. In this case we will supply you with the duct so you can put it in. We will advise on the best method and route from the boundary to your premises. You will be required to complete a plan with measurements of where the duct is buried. The duct must be covered to protect it from UV light (sun) which will cause the duct to fail.
Once the duct is installed another technician will complete the installation inside the premises, blow the fibre through the duct and install the electronic equipment ready for service.
Standard lead-in less than 200m
Free from your boundary to your premise.
Our technician will choose the method easiest for them to bury the duct. You approve the installation plan.
Standard lead-in more than 200m
First 200m from your boundary to your premise is free.
Our technician will choose the method easiest for them to bury the duct.
Our technician will discuss a plan and advise on additional costs involved past 200m.
You approve the installation plan, pay up front the additional cost invoice before work commences.
Premium lead-in any distance.
You get to choose how the duct is installed.
Our technician will discuss a plan and advise on additional costs involved.
You approve the installation plan, pay up front the additional cost invoice before work commences. Some of the lead-in maybe free or subsidised.
Own trench / installation.
You get to choose how the duct is installed.
We will supply you with the first 200m of duct free of charge.
Each additional metre of duct is $5 per metre.
Once installed you provide a plan and photographs of installation for our records. We complete the installation.
Installing the duct inside the house.
The technician will explain how the duct will travel through the house and where the electronics will be located. This is done by a separate technician after the lead-in has been completed and the work in the street is ready for your premises to be connected.
Having fast internet access is no longer a nice to have. Whether it’s watching streamed content, web browsing, video calling or smart appliances, the way we live now means reliable and fast broadband is an essential utility that needs to work when we need it. Running a speed test is an easy and quick way to start troubleshooting slow broadband or check what speed you're getting right now.
What is an internet speed test?
A speed test is a free web-based service that measures the speed, latency (delay) and jitter (difference in delay) of data sent between your computer or device and a nearby test server.
A speed test first checks how fast your connection can download information. It does this by requesting a piece of reference data and measuring the real-time transfer speed. If the test calculates your connection can handle more data, it will open up more connections to send even more information. The goal is to send as much information as your connection can handle to accurately measure your download speed.
The upload test run the same way as the download test, but in reverse. Data is sent from your computer to the test server over multiple connections to measure your maximum upload speed.
NOTE: Before you begin a speed test, it's important only one computer or device is online in your house when the test is carried out, so if you have flatmates or kids maybe wait until they go out or go to bed.
Know what broadband connection you have
If you’re not sure what type of broadband you have, you can use the Ookla’s Broadband Checker to find out what connection you’re on currently and what other options might be available. Understanding the potential speed of your connection will be useful when it comes to interpreting your results.
Where to test
You can find out how fast your broadband connection is running using the Ookla’s Speed Test. It’s powered by Ookla’s easy-to-use network performance measurement technology.
How to run an internet speed test
When you’re ready to test your home connection, here are our suggestions for how to get the most accurate result:
Use an ethernet cable to plug your computer into your modem. Ethernet cables deliver data many times faster than wifi, so always plug in your device before you start your test.
Restart your computer or close memory-hungry applications like image editors, video and music streaming apps as they can slow down your system and skew your test results.
The Speed Test runs in your browser and activity in other tabs will slow your system and affect your results. Close down all your tabs and restart your browser before beginning the speed test.
Make sure nobody else is online. If other family members are using the internet when you run your test, there will be less bandwidth (or capacity on your connection) to run the test properly. You might like to take the extra step and temporarily turn off your router's wifi and disconnect ethernet cables from other devices like your TV. Just remember to reconnect everything after your test.
The Ookla’s Speed Test will automatically select a test server nearest to you. You can select a different location by choosing a new server from the drop-down list before you begin a test, or from the results page before you begin a new test.
Run the test several times and at different times of the day to get a fuller picture of your broadband performance. Don’t be concerned by small differences between results.
If you are on a 'MAX' plan or higher and you aren’t seeing the results you expect, try using Ookla’s desktop app. You can find the app in the Microsoft and Mac App stores.
Understanding your results
The Ookla’s Speed Test will tell you how fast you can download and upload data. These speeds are described as megabits per second (Mbps) and they should match, or be very close to, the download and upload rates specified by your broadband provider for your plan.
Your speed test results will also mention ping and jitter. These metrics tell you how much delay you're experiencing, so the lower these values are the better.
What can influence your results?
Good broadband is more than just your connection – it’s a combination of factors including your broadband plan, the modem you use, the age of your device or computer, the number of people online and the capacity of your provider's network. Any one of these has the potential to affect your overall internet experience.
The good news is many of these things are within your control. Check out our list of tips and suggestions if you are experiencing slow broadband performance.
Whether it's the buffering of an episode of your latest Netflix series, or that annoying lag in receiving an email, there's nothing more frustrating than dodgy internet access. Even with the best broadband connection, there are a number of factors that can affect your home wifi experience. The good news is that the solution could be as simple as updating or moving your wifi router or using wired connections for your data-hungry devices.
Planning your home network
For many people when they think of wifi in their home, it's just seen as a singular connection that links devices to their router and the internet. The reality is though, when making decisions about a wifi set up you're actually designing an in-home network. Putting in time to research the type of network you want to build will save you effort and money and less frustration in the long-run.
Ethernet cables play a vital networking role. The wired portion of your home network will act as the backbone carrying a fast, reliable connection to parts of your home that wifi can't reach. You'll also get a far better experience from 4K TV streaming, online gaming and music services, if your data hungry devices use this wired connection.
So what type of setup should you opt for?
That depends on the size of your home, the number and type of devices you want to connect, and where in your home you want to enjoy them.
The simplest approach if you don't have a pre/smart wired house, is to install your fibre connection in your living room and then connect your TV, game console and stereo receiver into your router using ethernet cables.
Most routers will only have four ethernet ports in the back, so if you have lots of data-hungry devices then you'll need more ports. A network switch connected to your router will allow you to extend your wired network to more rooms in your home.
Running ethernet cable throughout your home can be a costly and difficult job, but it's worth considering if you're renovating or have easy access under your house. Wiring your home for ethernet will improve your overall broadband experience by reducing the number of devices competing for a good wifi signal.
Buying the right wifi router
Like other devices, it's a good idea to replace your router (sometimes referred to as a modem) every five years or so to make sure it can cope with advancements in broadband and wifi technology.
You usually get a new router from your internet provider when you upgrade your broadband plan. Some routers have limits on the speed they can reach, so ask your provider if your router can handle the speeds required by your connection.
If you're looking to buy your own router, compare the specifications (memory, processor power, number of antennas) of different models and purchase the best one you can afford – it'll give you a better wired connection and better wifi throughout your home. Choose a model which uses a modern wifi standard. Currently, that means Wi-Fi 5 (802.11ac) or Wi-Fi 6 (802.11ax).
Buying a new router can be a daunting task. The good news is there are many great review sites to steer you through the buying process. The Wirecutter, PC Mag, Techradar, and Cnet are all great places to start your research.
Where to place your router for a strong wifi signal
Where you place your router will have a big impact on your in-home internet experience. Wifi signals travel a limited distance and they can’t pass through some materials. In some cases other electronic devices, especially cordless phones and microwave ovens can interfere with wifi. If you're not getting the speed you expect, try these tips to boost your wifi performance:
Place your router in a central position within your house so your wifi can be transmitted to most areas in your home
Place your router in a high position within your living area where you use broadband the most
Place you router out in the open. Don't put it in a cupboard or behind furniture or other obstacles. If you can see your wifi router you're going to get great performance from unobstructed wifi signals
Avoid placing your router too near a window as you might be close to a neighbours' wifi and get interference
Place your router at least 2 metres away from household appliances which might cause electrical interference
Devices like baby monitors, bluetooth speakers, cordless phones and your neighbours' network can operate on the same radio frequency as your wifi. If you're getting poor wifi performance, try selecting a different wifi channel. Log in to your router's control panel and go to wifi settings to change this option.
Extend your wifi coverage
If you live in a large home or a home on multiple levels (or a small apartment with a complicated layout) you might find your router by itself isn't up to the task of transmitting wifi throughout your home. You'll need to extend your network to those rooms with a weak signal. Delivering ethernet cables to these areas is your best idea, but if that's not an feasible then there are other networking options you could try.
You can extend your network coverage using a Powerline adapter, installing a mesh wifi network, or using a wifi extender. The solution you choose will depend on where you're trying to reach and the obstacles (building materials) which might be interfering with your wifi signal. You might need a mix of two technologies - say, Powerline and a mesh network - to get around difficult obstructions.
Mesh networks
A mesh system is made up of several wifi devices (or nodes). Each node communicates with the other to form one large wifi signal that blankets your home. Traditional wifi setups rely on the signal transmitted from your wifi router. This signal grows weaker the further away you are from the router, or if there are obstacles in the way like walls, floors and concrete and steel structures. Mesh networks don't suffer from this problem because the nodes can be placed throughout your home, so you're always near a strong wifi signal.
Powerline networking
Powerline networking is a clever way to extend your wired connection throughout your home by using your existing electrical wiring system. You can purchase two or more Powerline adapters and place the first one near your router. The second adapter goes in the room where you have weak wifi reception. You can then connect your device to the second adapter using an ethernet cable, or plug in a wifi access point. Powerline networking is a great option because you don't need to lay any new cables.
Wifi extenders
Wifi extenders are devices which receive the wifi signal from your router and then repeat it or re-broadcast it in a different area of your home. You might experience slower speeds when connected to a wifi extender because of the way it relays the original transmission from your router. Wifi extenders might also create a second wifi network in your home, which means you have to manually connect and disconnect when moving between wifi networks to receive the strongest signal.
These three solutions add complexity and cost to your home network. If you're experiencing poor wifi reception, your first step should be to check the quality of your wifi router, change the location of your router, and then if necessary upgrade the device. An up to date router could improve the strength and range of your network more effectively than a wifi mesh network or other wifi range extending options.
We look forward to hearing from you.